New sod can transform a Long Island property quickly, but the first two weeks after installation are what determine whether that lawn roots evenly or struggles. Watering is the part homeowners notice most because it starts right away, changes by weather, and depends on soil conditions. A yard in Nassau County with afternoon shade may need a different routine than an open, sandy property farther east in Suffolk County. The goal is not simply to run sprinklers every day. The goal is to keep the sod and the top layer of soil consistently moist while new roots begin to knit into the ground below.
This guide explains how to think about watering new sod on Long Island during the first two weeks, when to adjust for spring or fall weather, and why professional planning matters before the first pallet arrives. For help with a complete project, visit Long Island Sod Company’s sod installation services on Long Island or review options for residential sod services.
Why watering matters so much after sod installation
Sod is harvested with a thin layer of soil and living roots. Once it is installed, those roots need moisture at the surface so they can reconnect with the prepared soil underneath. If the sod dries out too soon, seams can pull apart, corners can brown, and rooting may become uneven. If the lawn is soaked constantly, low areas can become soft, oxygen can be pushed out of the soil, and the surface may invite disease pressure. The best approach is steady moisture with careful observation.
Long Island adds a few local variables. Coastal breezes can dry exposed lawns faster than expected. Sandy soils drain quickly and may need shorter, more frequent watering at first. Shaded yards may stay wet longer, especially under mature trees or along north-facing sides of homes. Spring installations often have cooler temperatures and natural rainfall, while early fall projects may still see warm afternoons followed by cooler nights. These conditions are why a watering plan should be adjusted to the property, not copied from a generic warm-climate lawn guide.
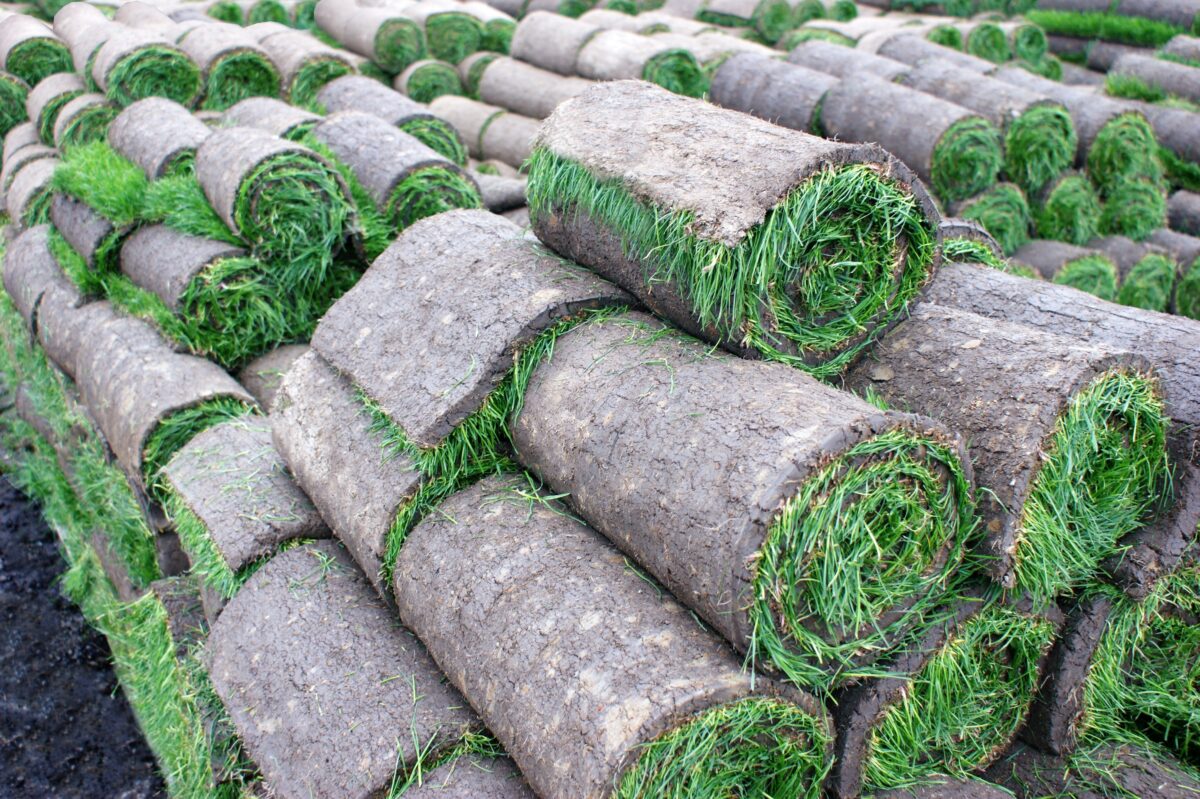
Day 1: water immediately and check the seams
The first watering should begin as soon as practical after sod is laid. Fresh sod should not sit dry in the sun while the rest of the yard is being finished. On larger projects, installers may water completed sections while work continues elsewhere. The initial watering should soak through the sod and moisten the soil underneath, especially along seams, edges, slopes, and areas near pavement that reflect heat.
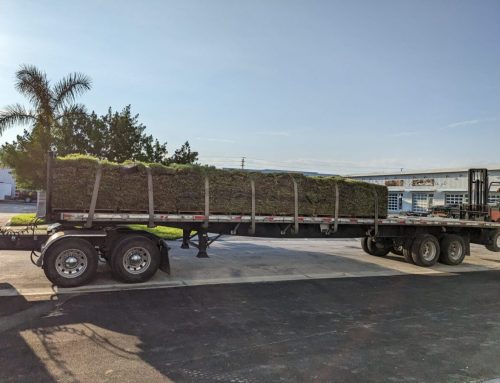
A simple check is to lift a corner gently after watering. The underside should be moist, and the soil below should not be dusty. It should also not be a puddled, muddy mess. Edges along sidewalks, driveways, patios, and curb lines can dry faster because hard surfaces hold heat. These areas often need extra attention during the first several days. If you are still planning delivery logistics, the sod delivery service page can help you think through access and staging before installation day.
Days 2 through 7: keep the sod consistently moist
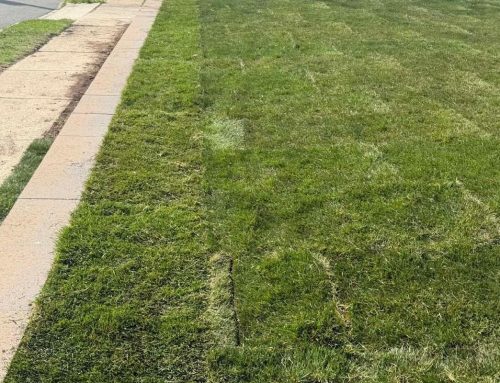
During the first week, new sod generally needs frequent watering because the root system has not anchored into the soil. The exact schedule depends on the weather, irrigation coverage, soil type, and sun exposure. On a warm, breezy day, an open lawn may dry quickly. On a cool, cloudy day, the same amount of watering may be too much. Instead of relying only on a clock, look for signs: the sod should feel moist, the seams should stay tight, and footprints should not remain deeply compressed from over-saturation.
For many Long Island properties, the first week is when sprinkler coverage problems show up. One zone may overlap heavily while another leaves a strip dry. Corners, side yards, and narrow areas beside driveways are common trouble spots. If a section looks gray-green, curls at the edges, or feels dry underneath, water that area promptly. If a low spot stays soggy, reduce the duration there and watch for drainage issues.
Avoid heavy foot traffic during this stage. Walking, pets, furniture, and equipment can shift sod before roots establish. Commercial sites, HOAs, and builder projects should communicate temporary access limits so new turf is not damaged by repeated crossing. For larger properties, the commercial sod installation page is a useful internal resource for planning around shared spaces and higher-traffic areas.
Days 8 through 14: transition from surface moisture to deeper rooting
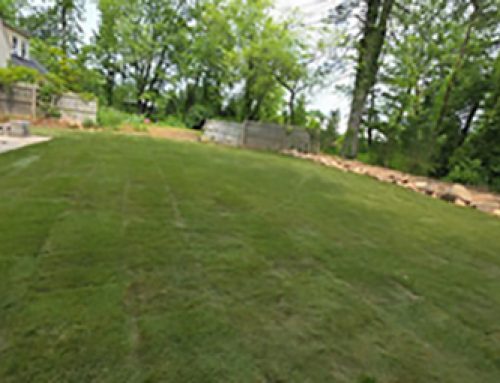
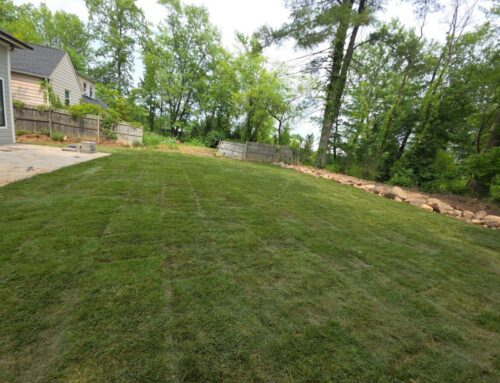
In the second week, the watering goal begins to shift. The sod still needs consistent moisture, but you want roots to start reaching down into the soil rather than staying only at the surface. When rooting begins, the sod becomes harder to lift. At that point, watering can often move toward less frequent but deeper sessions, adjusted for weather and soil conditions.
This transition should be gradual. Cutting water too sharply can stress the turf before roots are ready. Keeping the surface constantly drenched for too long can also create problems. Check several areas of the lawn, not just the most visible section. Sunny frontage, shaded side yards, slopes, and sandy backyards may all behave differently. Long Island lawns with mixed shade and sun often need zone-by-zone adjustments rather than one uniform sprinkler setting.
If you are comparing sod types before a project, review Long Island Sod Company’s guide to types of sod available on Long Island and the resource on choosing the right grass for your Long Island home. Grass selection, sun exposure, and irrigation all work together after installation.
How spring and fall installs affect watering
Long Island sod projects are often strongest in spring and fall because cooler conditions reduce heat stress and can make watering more manageable. Spring weather may bring rain, but rainfall can be uneven. A storm that wets the surface for a few minutes may not soak through enough for new sod. Fall installations can be excellent for cool-season turf because soil may still be warm while air temperatures moderate, but lawns still need water until roots establish and growth slows for the season.
Summer installations may require more careful monitoring because heat, sun, and wind can dry sod quickly. Winter is different again: sod may be dormant or slow-growing, and watering decisions depend on temperature, soil moisture, and whether the ground is frozen. For seasonal planning, see when is the best time to lay sod.
Common watering mistakes to avoid
- Watering too lightly. A quick sprinkle may wet the grass blades without moistening the soil underneath.
- Ignoring edges and seams. These areas dry quickly and are often the first to show stress.
- Letting sandy areas dry out. Fast-draining soil may need closer attention during the first week.
- Overwatering shaded or low areas. Shade can hold moisture longer, and low spots may stay soft.
- Using one schedule for every zone. Sun, shade, slope, and sprinkler coverage can vary across the same property.
- Opening the lawn to traffic too soon. New sod needs time to root before regular use.
When to involve a sod professional
If your lawn has poor drainage, heavy shade, construction-compacted soil, irrigation gaps, or a large area to cover, professional planning can prevent avoidable problems. A sod project is not only about laying rolls in straight lines. Ground preparation, delivery timing, soil contact, first watering, and post-install guidance all affect the finished result. Homeowners deciding whether to handle the job themselves can compare the practical differences in the guide to DIY sod installation vs. professional sod installation.
Long Island Sod Company helps homeowners, builders, contractors, HOAs, and commercial property managers plan sod projects around local conditions. If you want a new lawn installed with the right preparation and a realistic watering plan, contact the team to discuss your property, timing, access, and goals.
FAQ: watering new sod on Long Island
How soon should I water new sod after installation?
Water as soon as practical after the sod is installed. Fresh sod should be kept moist so the roots can begin establishing into the prepared soil below.
Can rain replace watering new sod?
Sometimes, but do not assume rainfall is enough. Check under the sod in a few areas to confirm the moisture reached the soil beneath the rolls, especially after a brief shower.
Should sandy Long Island soil be watered differently?
Sandy soil can drain quickly, so new sod on sandy areas may need closer monitoring during the first week. The aim is steady moisture without creating runoff or soft, unstable spots.
When can I walk on new sod?
Limit traffic while the sod is rooting. Necessary watering checks are fine, but regular use, pets, furniture, and equipment should wait until the lawn is more firmly established.
What if parts of my sod are browning?
Check moisture under the brown areas, nearby seams, and sprinkler coverage. Browning can be related to dryness, heat, poor soil contact, or uneven watering. If the issue spreads, ask a sod professional to evaluate the site.
Ready to plan a successful sod project? Contact Long Island Sod Company for sod delivery and installation guidance built around Long Island soil, timing, access, and lawn conditions.